Planning Our Walapini Greenhouse: How We’re Building an Underground Garden System
Winter in Tennessee is no joke and a Walapini Greenhouse is perfect for that. Growing up in Bryan-College Station, Texas, I was used to milder winters.
Sure, we had the occasional cold snap, but it was nothing compared to the seemingly endless six months of cold and cool weather we have here. Living just five minutes from the Tennessee River has its perks, but the winters? Not so much. Growing crops during those long months is a challenge, to say the least.
So, after a lot of digging and researching greenhouse solutions, I stumbled upon the concept of a Walapini Greenhouse, an underground greenhouse.
And let me tell you, it was love at first sight. This design is exactly what we need to extend our growing season here in Tennessee, where frost can linger far too long for comfort. The key feature of a Walapini Greenhouse is that it’s built below the frost line, about eight feet deep in our area.
To take advantage of the Earth’s natural geothermal heat. To be extra safe, we’re planning to dig about 10 feet down.
The Secret Garden: How We’re Designing Our Underground Walapini
The design process is where the fun and not-so-fun begins. I’ve been brainstorming how big this Walapini needs to be to accommodate all the crops I’m dreaming of growing. Since our fruit trees and bushes will thrive outside, the Walapini will be dedicated to vegetables and greens.
I’m planning to grow mustard greens, turnip greens, kale, various lettuces (like butter lettuce and leaf lettuce), cabbage, broccoli, cauliflower, artichokes, and more. For root crops like white potatoes, onions, and sweet potatoes, I’ll use growing bags and fabric containers that I snagged for a steal on Temu.
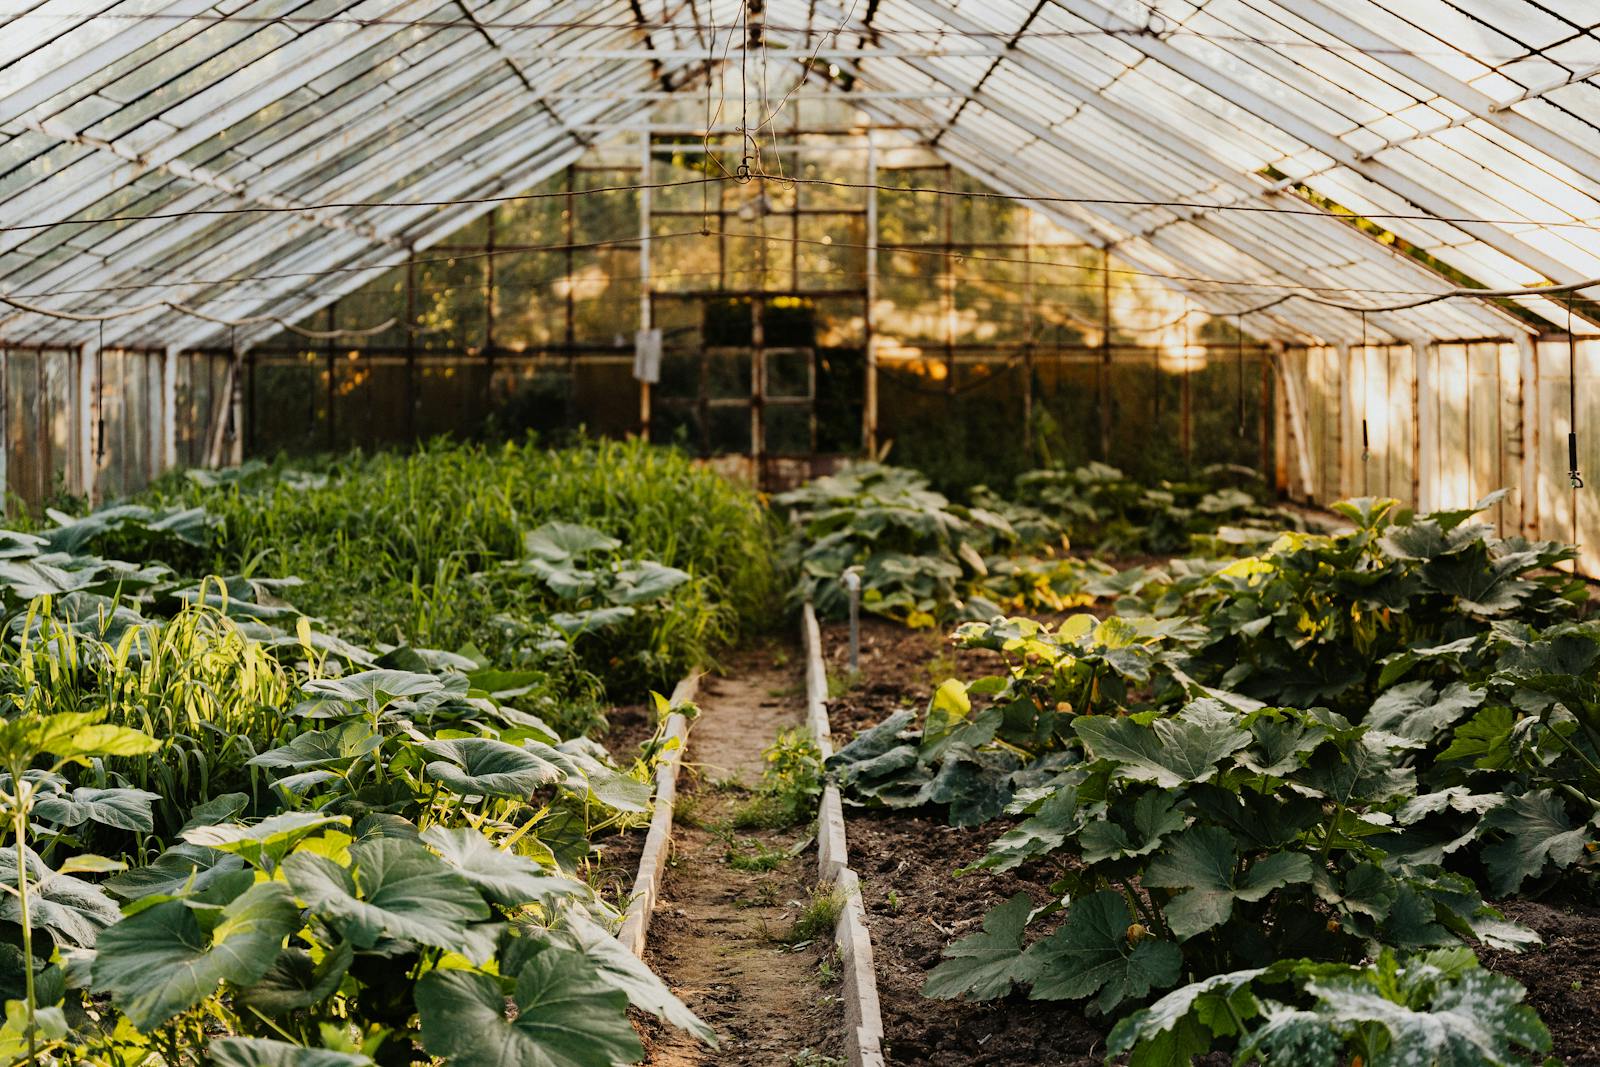
The roof is another big decision. I’m leaning towards using reclaimed windows instead of the polycarbonate panels you see in most greenhouses.
Windows are sturdier, and I’m all about using materials that can withstand Tennessee’s storms—as long as we’re mindful about not having trees too close to the structure. My plan is to scour Facebook Marketplace, Craigslist, and local buy-and-sell groups for some old windows.
If I’m lucky, I’ll find enough to cover the roof and maybe even add some charm to the design.
From Dirt to Greens: Our Walapini Greenhouse Underground Project
Location is everything for a Walapini.
We’re set to start clearing out the back property next month, as long as the weather cooperates. Once the trees and brush are gone, I’ll have a better sense of where the Walapini will fit best. Right now, I’m eyeing the entire left side of the property.
It gets the most sunlight, especially in the mornings and early afternoons, which is ideal for maximizing the passive solar heating that’s crucial for a Walapini. With the front side of the greenhouse facing the sun, it should soak up enough rays to keep our crops happy all winter long.
What Excites Me Most
What gets me happy about this project is the idea of having fresh, homegrown foods all year-round.
There’s something so rewarding about walking out to your backyard and picking greens for dinner, even when there’s frost on the ground. Plus, this Walapini will be a game-changer for our little homestead—helping us stay more sustainable and self-sufficient no matter the weather.
It’s going to take a lot of hard work to bring this vision to life, but I’m ready. From digging the hole to designing the roof to planting the first seeds, every step will be worth it. Stay tuned, I’ll be sharing updates as we make progress on our underground greenhouse. Who knows? Maybe it’ll inspire you to start your own one day soon!
Here’s to growing through the seasons, one Walapini greenhouse at a time.
